Header
Our logo is placed in the top left-hand corner, followed by the sender's contact details, aligned with the text of the logo. The name and address of the addressee are placed on the right, positioned to neatly fit into the window of a UAntwerp envelope. On Pintra, we explain how to personalise this template.

Before you start using this template:
- Create a personalised template based on this template.
- Open this template from Word, so do NOT double-click on the file in your e-mail or in Windows Explorer.
- Fill in all fields that will contain the same info in your personalised template. Fields that you want to use later but do not have fixed content can be left empty. You can delete fields or tables that you will never use.
- Save the file as a new Word template, i.e. as a ‘.dotx’ document, to retain full functionality.
Get started with your personalised template:
You can now create a letter based on your personalised template. You do this by double-clicking on the file.
Some tips:
- It's recommended to use the provided styles in the ‘Start’ menu.
- You can empty any fields you do not use in your letter by inserting a space.
- The document contains some Quick Parts you can use to insert text quickly and uniformly. You'll find them in the ‘Insert’ tab. For example, you can add an element after the end of the letter indicating who will be receiving a copy of the letter.
- We promote sending documents digitally. That's why logos are included by default in this letter. Even if you create a PDF, everything will be neatly in place. You can print your document using a colour printer or using pre-printed stationary. If you use pre-printed paper, you can hide the logos by going to the 'Insert' tab, selecting 'Header' and choosing 'UA leeg'. After printing, you can add the logos back in.
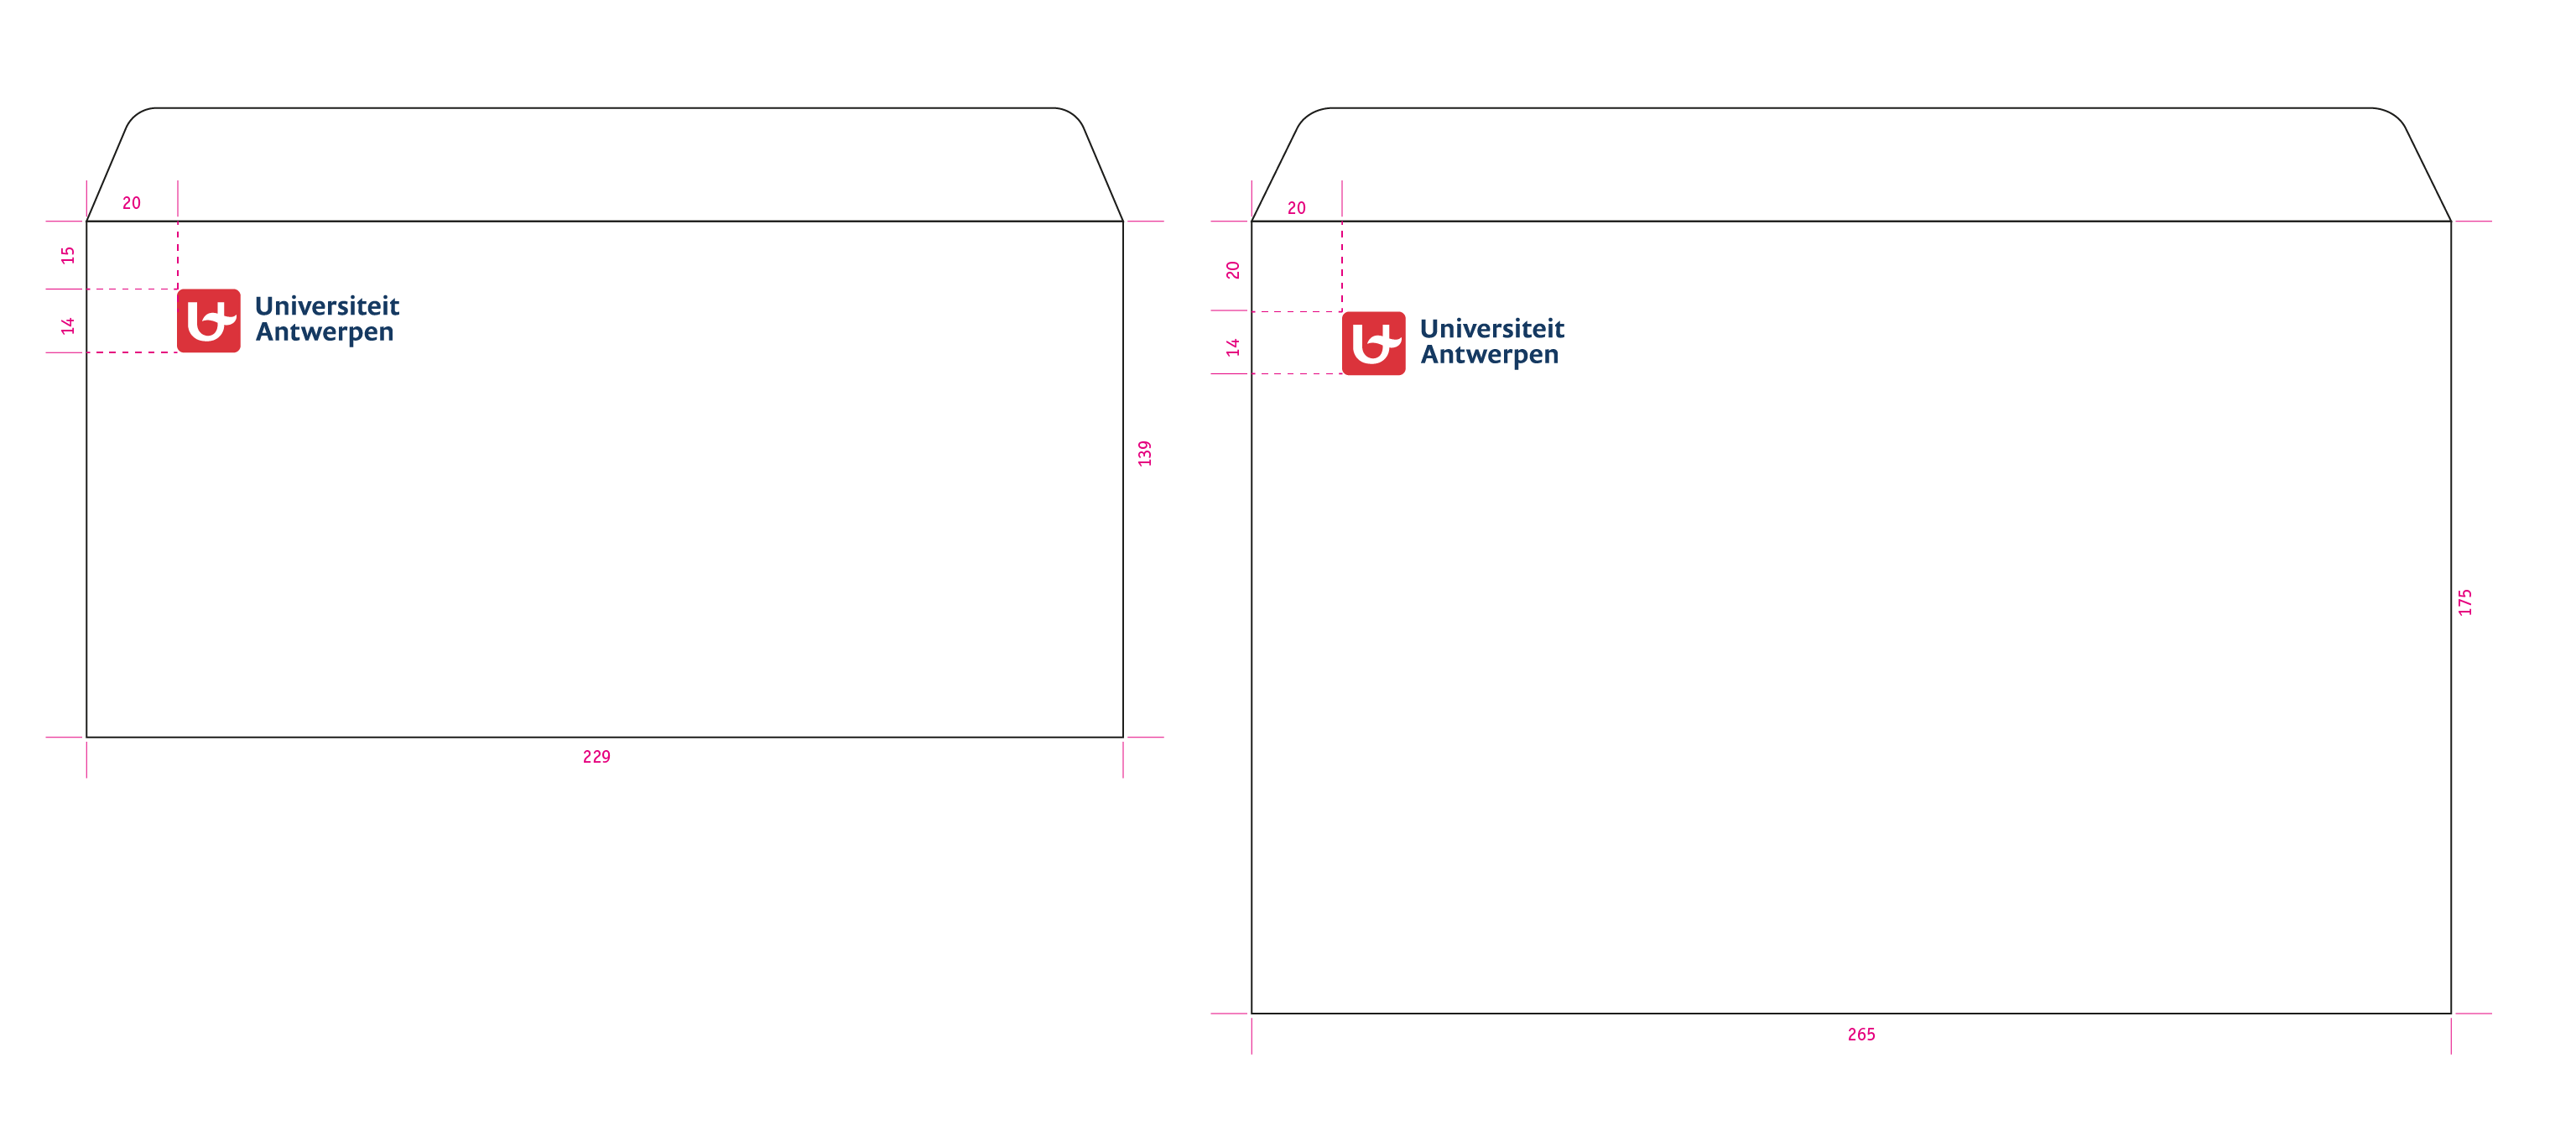
Envelopes